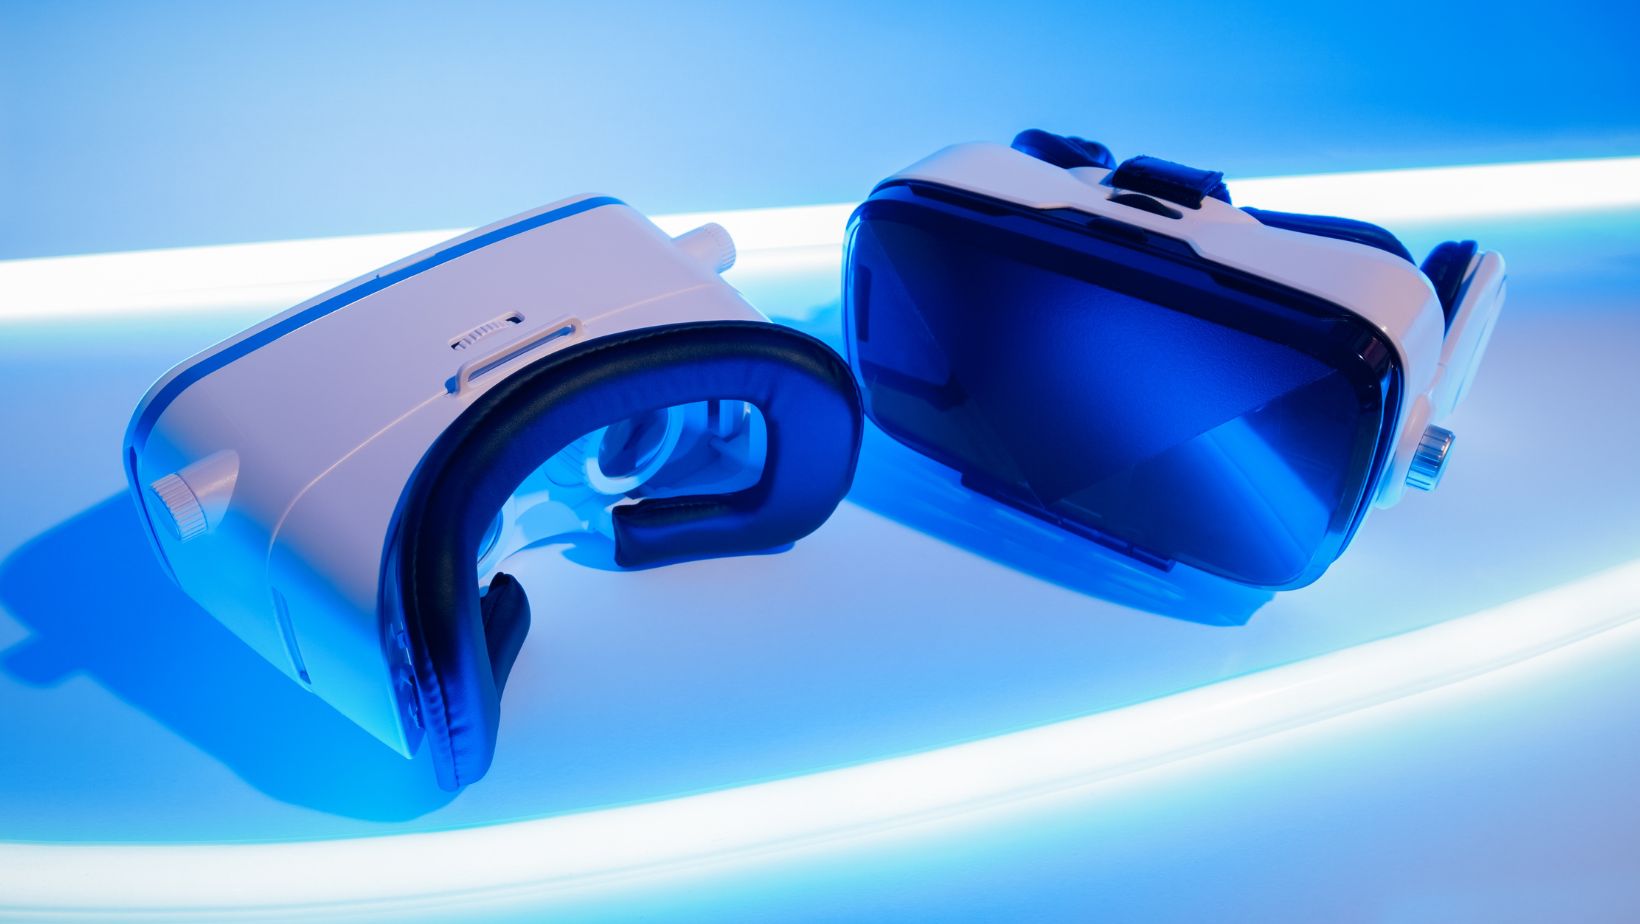
If you’re a fan of VR gaming, you must no doubt be familiar with the Oculus Quest 2 headset. And If you wear glasses or lenses, then you know the struggle of trying to enjoy an immersive virtual reality experience. Thankfully, Oculus has made it easy for you to install prescription lenses into your Oculus Quest 2 headset so that you can have the best possible experience.
To help make the process easier, we’ve put together a simple step-by-step guide to installing ZyberVR Prescription Lenses inserts into the Oculus Quest 2 headset. Read on for all the details and learn how to do it correctly and safely!
A Step-By-Step Guide to Install Prescription Lenses
Following is the proper way to perfectly install prescription lenses:
Step 1: Purchase Prescription compatible Lenses
The first step is to purchase prescription lenses that are compatible with your headset. You can find these available on many websites like Zyber. These lenses will be custom-made specifically for your headset and should arrive within two weeks of ordering them. Make sure to double-check your measurements before ordering!
Step 2: Remove the Default Foam Insert from Your Headset
Once your lenses arrive, remove the default foam insert from inside your headset with a flat-head screwdriver. Be careful not to scratch or damage the plastic surface underneath when removing it. Once you’ve removed it, set it aside in a safe place so that you don’t lose it!
Step 3: Install Spacer Glass
The first step is to install a glass spacer into your headset. This spacer helps align your base and keep it in place while inserting the lenses. Once you have the glass spacer in place, hold your lenses up to the headset and check that they are parallel to the top of your base. This will ensure that when you insert your lenses they are correctly aligned.
Step 4: Properly Align All the Things
Once everything is properly aligned, take hold of your lenses by their irregular notch and carefully mount them onto the base of your headset. Once both lenses are securely mounted, it’s time to attach the face cover plate before playing. This plate helps protect your lenses from damage during gameplay, so be sure not to skip this important step!
Step 5: Reattach the Default Foam
Insert Finally, reattach the default foam insert back onto your headset using a flathead screwdriver once again. This will ensure that everything is secure and ready for use! Be extra careful when reattaching this part as any mistakes could result in permanent damage to your Oculus Quest 2 headset.
To Conclude
By following these steps, you should now have successfully installed prescription lenses into your Oculus Quest 2 headset! While this process may seem daunting at first, just take it one step at a time and make sure not to rush through anything—that way, you can be sure that everything is done correctly and safely without risking any damage to your device or its components. Enjoy gaming with perfect vision!
